How to Make Inkjet Print Stickers at Home like a Pro?
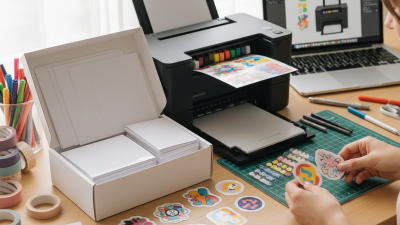
Creating high-quality Inkjet Print Stickers at home can be a rewarding venture. Renowned expert in the printing industry, John Smith, once stated, "Mastering the art of sticker printing is a blend of skill and creativity." His words capture the essence of this craft.
Making stickers involves understanding various materials and inks. You need a reliable printer and good-quality ink. Not all printers are created equal; some may not deliver the vibrant colors you envision. Experimentation with different paper types can yield different results.
Don’t be afraid to make mistakes. Each failed attempt teaches you something new. Proper finishing touches, like trimming and applying a protective layer, can enhance the durability of your stickers. It is a learning curve, and reflecting on each step will improve your future projects. While the process may seem daunting, it is the thrill of innovation that keeps it exciting. Ultimately, success in creating Inkjet Print Stickers comes from both practice and passion.
How to Select the Right Inkjet Printer for Sticker Printing
Choosing the right inkjet printer for sticker printing is essential for achieving professional results. Look for a printer that offers high resolution. A minimum of 1200 dpi is ideal. This ensures that your designs are sharp and detailed. The ink type used is also crucial. Dye-based inks are vibrant but may fade over time. Pigment-based inks offer longevity and are resistant to water.
Consider the size of the stickers you want to create. Some printers only handle standard paper sizes. If you aim for larger stickers, you need a printer that supports various media sizes. Don't overlook the paper compatibility. Use sticker paper specifically designed for inkjet printers. Regular paper may cause smudging and poor adhesion. It’s important to perform test prints to evaluate the quality.
Not every printer excels in all areas. Some may excel in color reproduction but struggle with speed. Research online reviews and user experiences to get a better understanding. Real-world feedback can reveal potential issues. Lastly, budget is a factor. High-quality printers can be an investment. Ensure you find the right balance between quality and cost.
How to Make Inkjet Print Stickers at Home like a Pro? - How to Select the Right Inkjet Printer for Sticker Printing
| Printer Model |
Print Resolution (dpi) |
Maximum Media Size |
Ink Type |
User Rating |
| Model A |
4800 x 1200 |
A4 |
Dye Ink |
4.5/5 |
| Model B |
6000 x 2400 |
A3 |
Pigment Ink |
4.7/5 |
| Model C |
4800 x 2400 |
Letter |
Dye Ink |
4.6/5 |
| Model D |
1200 x 1200 |
A4 |
Pigment Ink |
4.2/5 |
Understanding Different Types of Sticker Paper and Their Uses
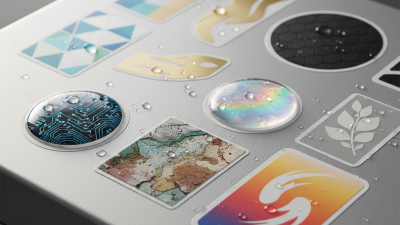
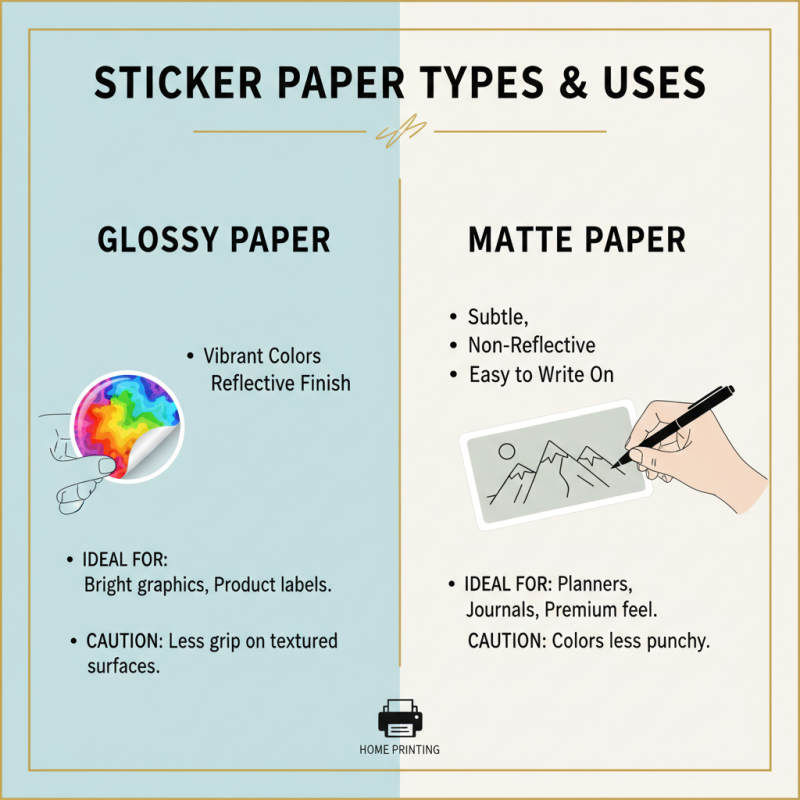
When making stickers at home, the type of sticker paper you choose significantly affects the outcome. There are several kinds available, each designed for specific applications. For instance, glossy paper is perfect for vibrant designs. It's smooth and enhances colors well. However, it may not adhere as firmly on textured surfaces. Matte paper, on the other hand, provides a more subtle finish. It’s ideal for writing and gives a premium feel.
Transparent sticker paper also adds a unique touch. It allows the surface beneath to show through. This can create stunning effects for clear labels or art. Keep in mind, though, that colors may appear less vibrant on transparent paper. Test your design first to see how colors look.
Tip: Always check your printer settings. Using the wrong settings can lead to color discrepancies. Also, cutting stickers manually can sometimes result in uneven edges. A cutting machine might save time and give a professional finish.
Experimenting with different papers can lead to unexpected results. Perhaps the glossy paper doesn’t fit your vision as expected. It’s all part of the learning process. Adjust your techniques as needed and enjoy making stickers that reflect your creativity.
Essential Software for Designing High-Quality Stickers at Home
When creating high-quality stickers at home, choosing the right software is crucial. Software like Adobe Illustrator and Inkscape can provide powerful tools for design. They allow you to create vector graphics, which result in sharper images. Ease of use varies. Some users find Adobe's interface complex initially. Inkscape, on the other hand, is free and user-friendly but may lack certain advanced features.
For beginner designers, start with templates. Many online platforms offer free designs you can customize. It helps to visually understand layout and color harmony. Pay attention to resolution; stickers should ideally be at least 300 DPI. This ensures clarity and quality in print.
Another tip: don’t overlook color management. Your screen and printer may display colors differently. Print a test page to check if colors match your expectations. It can be disappointing when the final product differs from your design. Keep experimenting until you achieve the desired look. This process can feel tedious, but it sharpens your skills. Remember, the journey of creating art is just as important as the final sticker itself.
Techniques for Ensuring Ink Durability and Vibrancy in Stickers
Creating vibrant and durable inkjet print stickers at home requires attention to several key techniques. One important factor is the choice of paper. Use polyester or vinyl paper for better durability. They resist water and fading, ensuring your stickers last longer. Regular paper tends to absorb ink instead of reflecting it well, leading to dull colors.
Another critical step is to use the right printing settings. Set your printer to the highest quality. This affects both color vibrancy and detail. Make sure to choose the correct media type in your printer’s settings. For instance, if you use glossy paper, ensure your printer knows it.
After printing, allow the stickers to dry completely before handling them. It may take a few hours or overnight. Consider applying a clear sealant for additional protection. This can enhance the ink's vibrancy even further. Sometimes, the sealant can make the colors pop more than the original print. Keep in mind that not all sealants work well with every ink type, so testing is necessary. Stickers can be a fun project, but perfection comes with practice and experimentation.
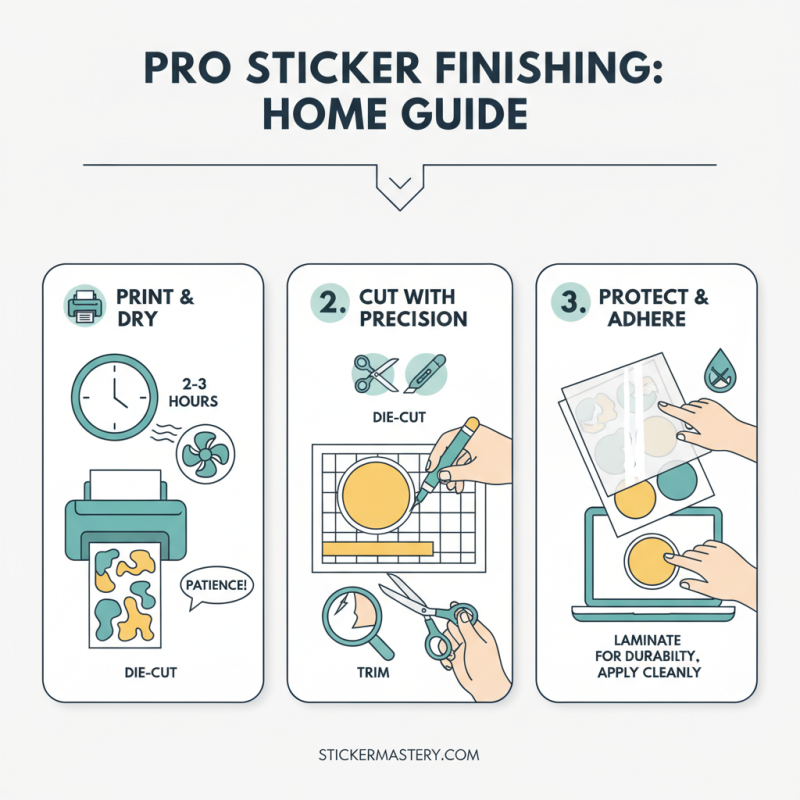
Step-by-Step Guide to Cutting and Finishing Your Stickers Professionally
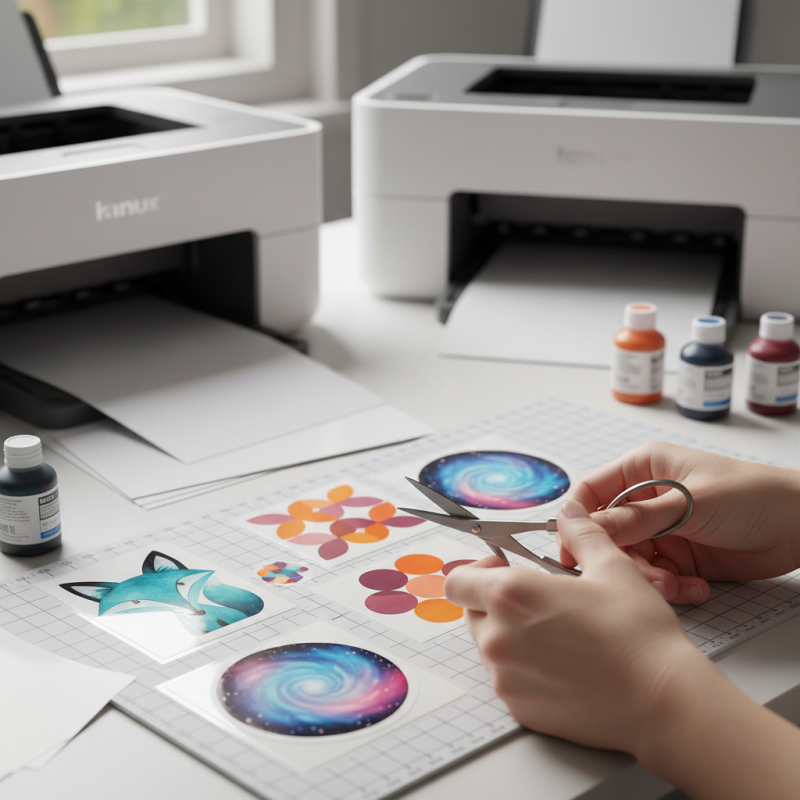
Creating professional-looking stickers at home requires attention to detail, especially in the cutting and finishing stages. Begin by selecting high-quality adhesive paper designed for inkjet printers. After printing your designs, allow them to dry completely to prevent smudging. This can take a few hours, and patience is essential here. Mistakes often occur if you rush this step.
When it’s time to cut, use a sharp craft knife or scissors for clean edges. A cutting mat can protect surfaces and ensure safety. If you’re using scissors, steady hands help avoid jagged borders. You might find that some stickers don’t peel perfectly. This may be due to uneven cutting or improper settings. Be prepared to adjust your technique and practice with scrap paper.
Finishing touches are crucial for durability. Consider applying a clear laminate sheet over your stickers to protect them from moisture and wear. This step can enhance their professional look. Keep in mind, it might not always come out as expected. Uneven lamination can lead to bubbles. Learning from these imperfections will improve your skills. The journey of making stickers is as rewarding as the end result.